
Some cheeky edits to pre-existing characters in Maya
For this set of lessons, I was tasked with completing and testing out making complicated objects in Maya, I have already had some experience in Maya from my college course last year and had instinctively tried making some odd shapes from my imagination. I was however happy with getting a refresher lesson as I had forgotten some useful techniques.
The characters above was a shared file given to our class and I at first only messed around with the hats and arms doing poses. Then I got creative making one persons arms look like antlers or devil horns for another. One characters hat also looks like a duck's bill on the business man's body too. I also very creatively manage to mess around with the colours and materials and filters of another, only to make it look like an Among us character. The visor was just a cylinder pressed into the face. (Or what used to be the face, now upside down & inside the body)

Paintbrush finished design with reference picture
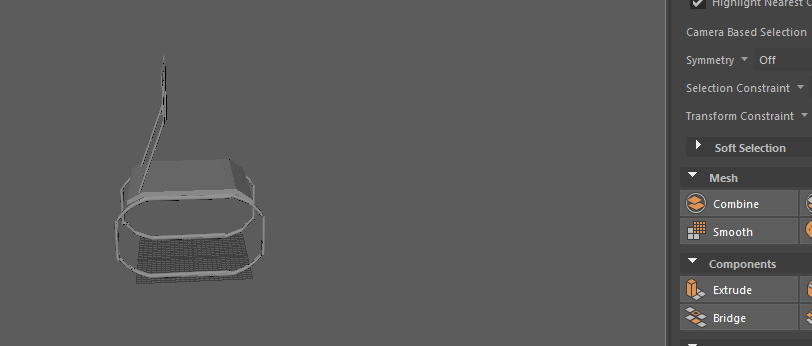
Chair right side view shot
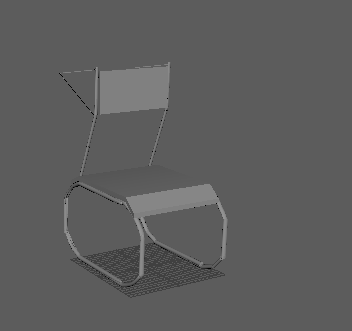
Chair angled side view
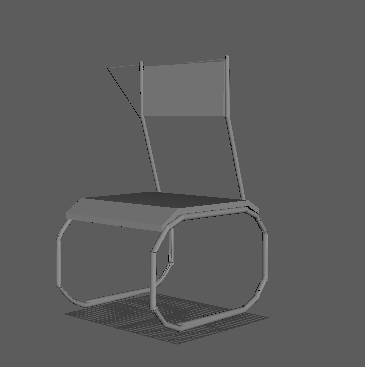
Chair front side shot
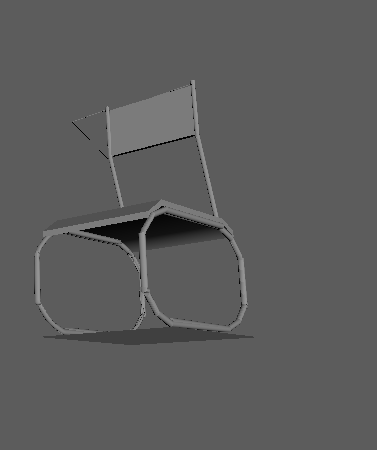
Chair Dutch angle shot
Our major homework task however was to create 5 minor household objects and then use our skills to create a chair from a reference picture. The pictures above showcase the Paintbrush and different shots of the Chair, which notably by my friends looks like a wheelchair.
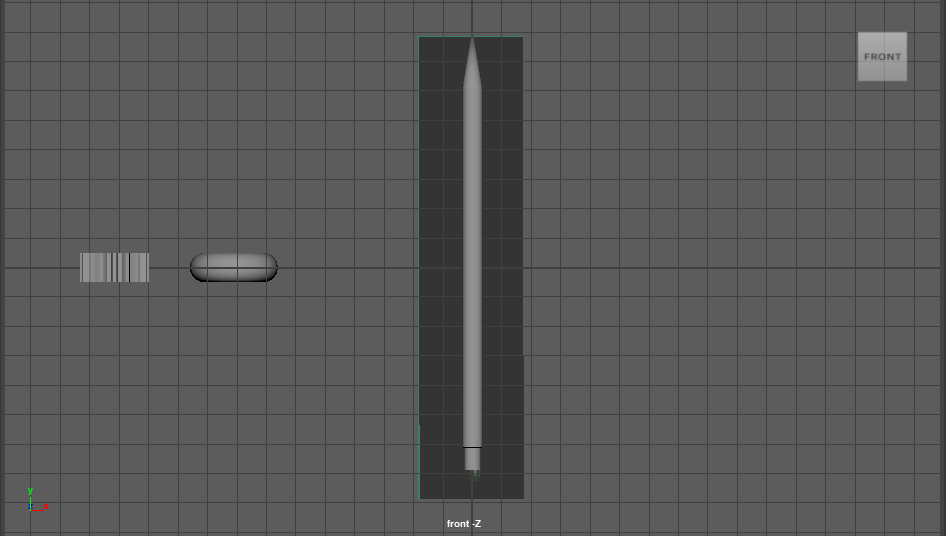
Pencil in early development
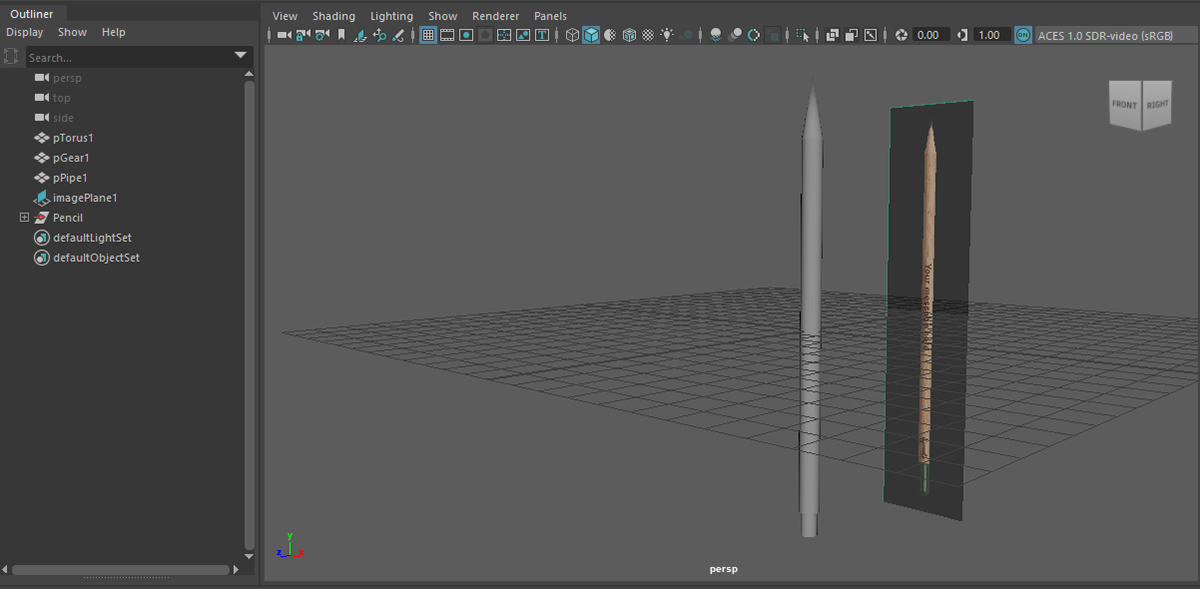
Pencil with reference picture
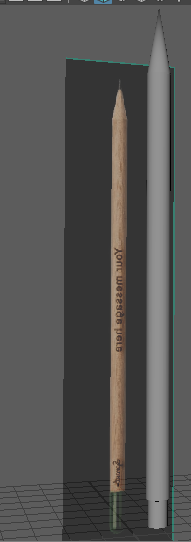
Pencil finished design
Vase pic 1 in early development

Vase pic 2 with reference picture behind
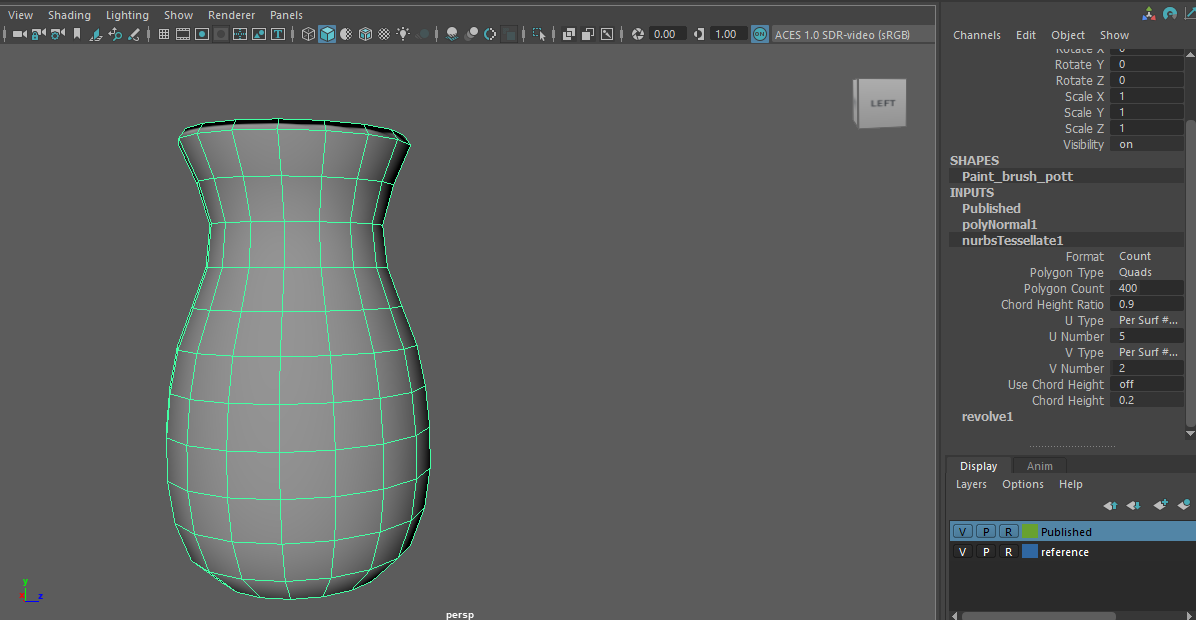
Vase pic 3 selected
Next up is the pencil and the vase, these two items like the other main 3 were made by me following a tutorial on aula. The pencil is quite thin but still has its curved and rigid sculpture and a pointy tip at the top. The vase also has some different shots shown including the reference picture and its unfinished/completed designs. This was my favourite to make by far because of how smooth its looks and how its looks so real.
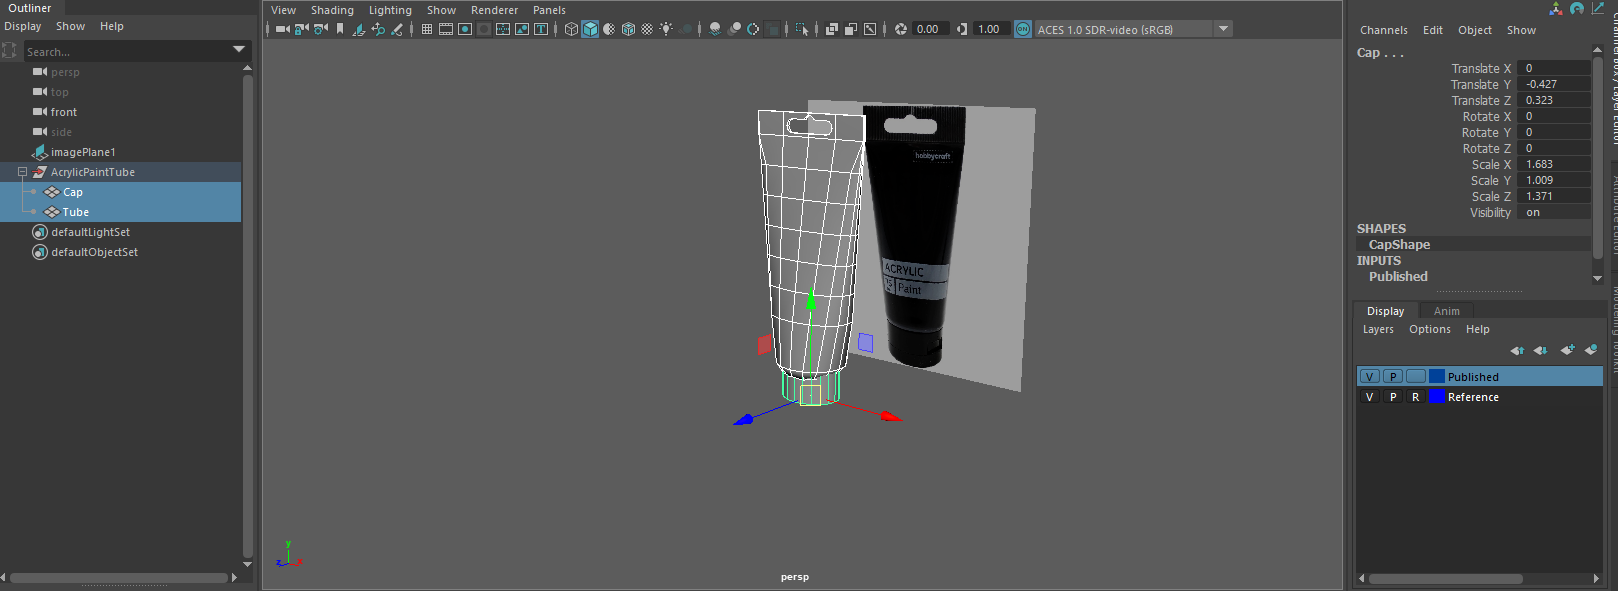
Acrylic Paint tube selected in Maya
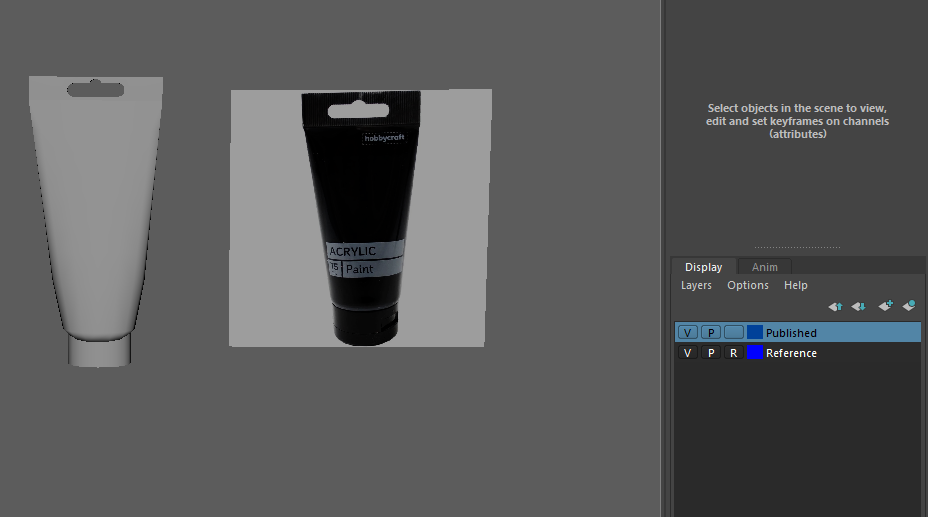
Acrylic Paint tube finished design
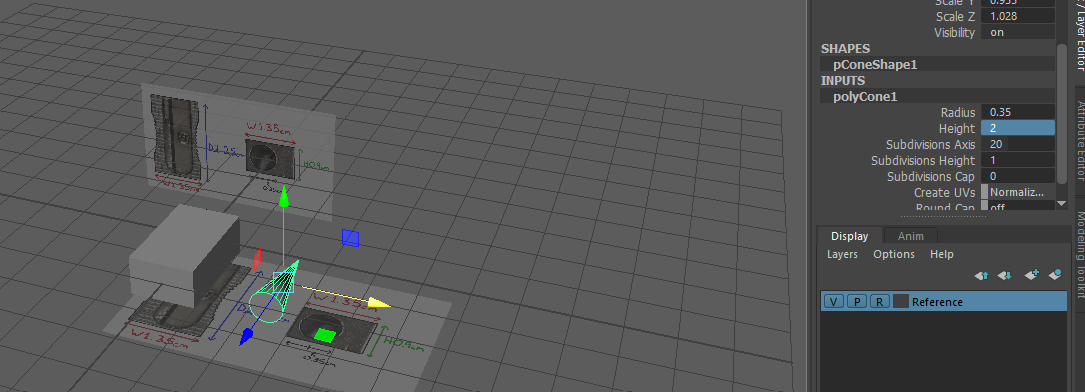
Pencil sharpener in early development.
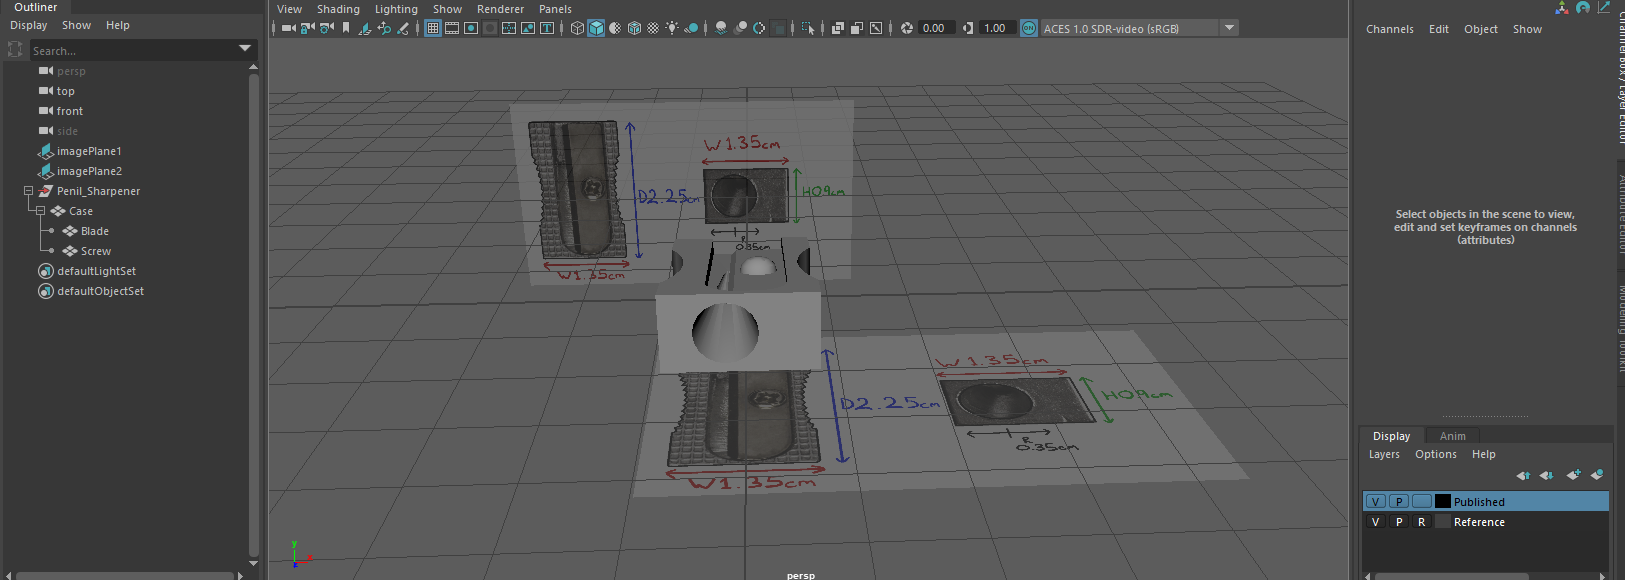
Pencil sharpener pic 1 zoomed out.
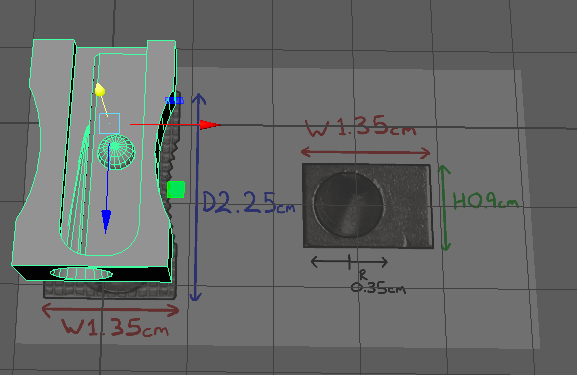
Pencil sharpener pic 2 object selected

Pencil sharpener pic 3
The last items are the acrylic paint tube and the pencil sharpener, these two were the last ones I made but were both satisfying to finish off, as the tutorial's steps were easy to follow but also very long to follow all the way through. The paint tube was another cool object to make as the way the top and main body was made was very interesting to me and I had fun learning how to use these skills further along.
The Pencil sharpener was one object I had tried making earlier but the reference picture I had got for it was not working and my Maya had also crashed at one point making this. I did enjoy making it a day later and was happy to see it done and looking so realistic.