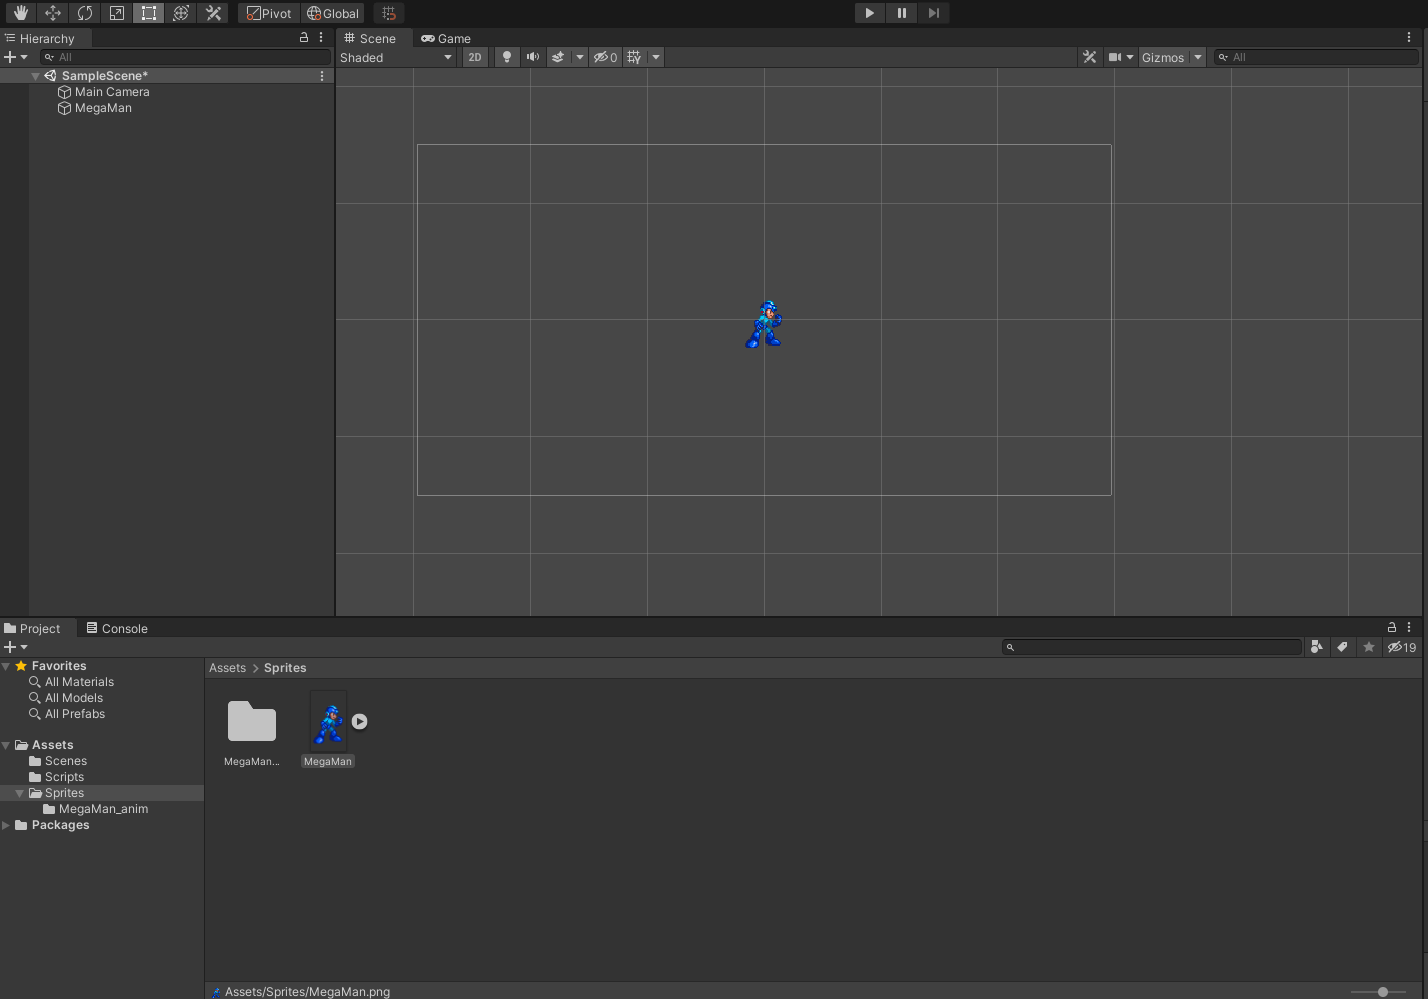
This post is about my introduction to Sprite Animation, in the lesson I was able to learn how to implement a 2D sprite into Unity and make it a playable character. The pictures below show a step by step process of my attempt at making a level for Megaman. (The specific sprite we were using)
Mega Man Sprite test
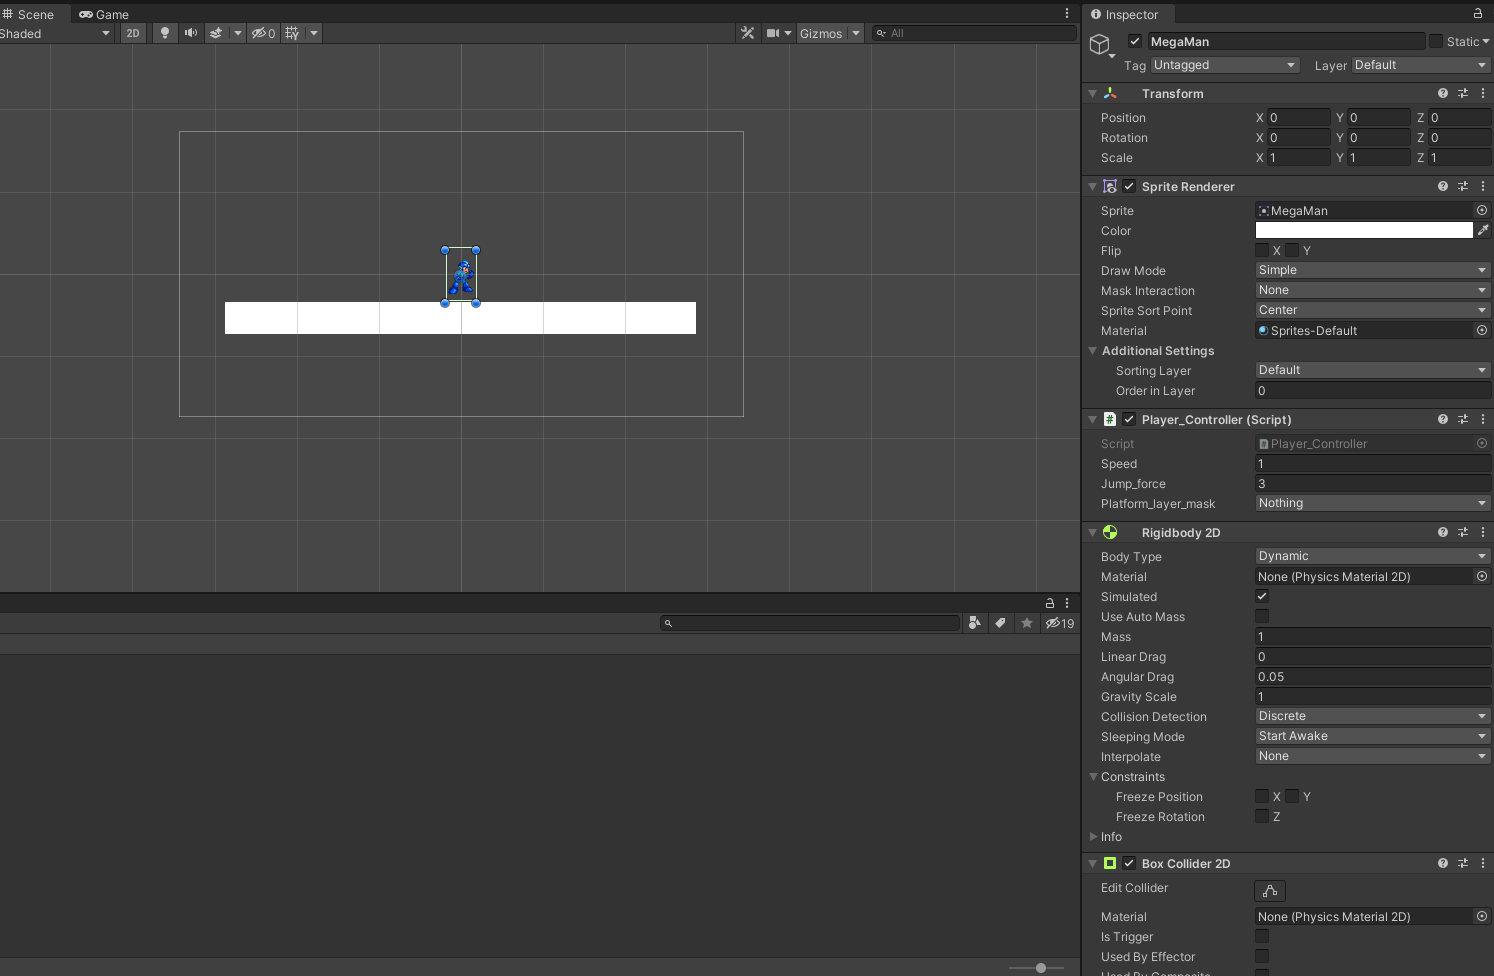
Adding Colliders
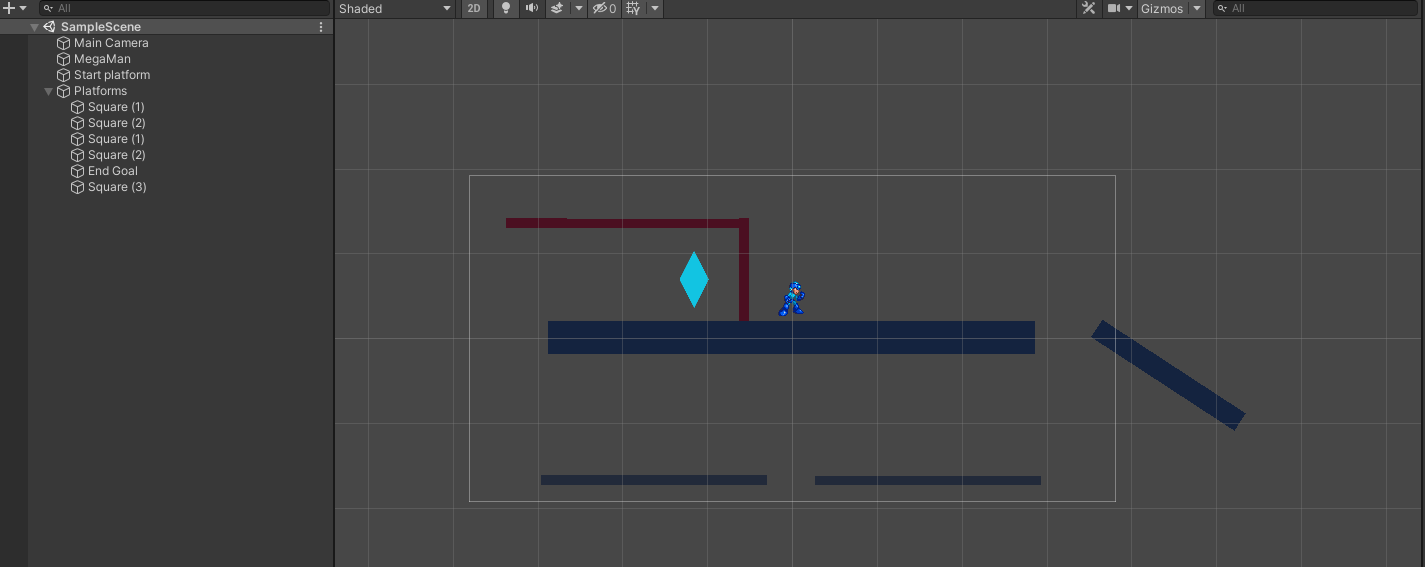
At first we used aula to copy and download the Megaman sprite sheet as this would allow me to implement the sequences later on. When I placed the Megaman sprite in unity it was just a flat image which held all the other animated frames but these could not yet be used without coding it in first. Then I made my way into designing a simple level for the character sprite. I spawned in a simple cube and stretched it within the camera box.
I then added colliders to make sure the character would not fall thought the floor when the level was played.

Adding Gravity
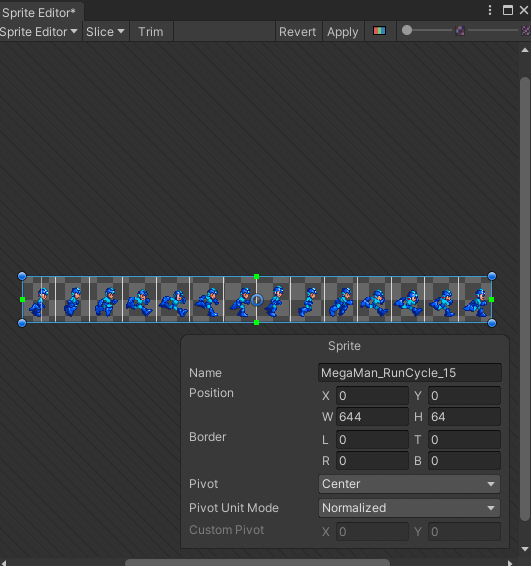
Slicing and Cutting up Mega Man sprites
The next section of me learning how to make 2d game levels was by adding gravity to the scene and slicing up the character sheet into individual animated frames for my Megaman sprite. Each of these frames would be placed at a specific point in the running/jumping cycle and would then be used later for specific animations. These would then be coded to a specific computer key and placed in a timeline for my character. E.g. My final sequence shown below was megaman_jumping to megaman_running to megaman_firing and then back to the jumping sequences in a animation loop.

Animating Mega Man sequencing
At this point of the lesson I was able to go into the Animator section, paste in the cut up sprites I had and give my 2D character specific moves when a button is pressed in-game. For example when I press the spacebar, the character will jump in a sequence of the cut up pictures. I also made it so the character could shoot and run and be able to switch between all 3 moves gracefully.

Concept art for 2nd and 3rd train carriage. (Bronze and Sapphire)
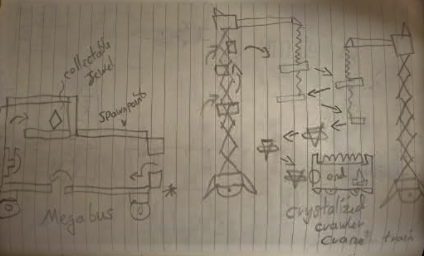
Concept art for 1st and 4th carriage (Megabus and Crystalized Crawler Crane)
Start of making a vehicle (Train car) shape for the level design

Adding more carriages and chain links/tracks
When I was first designing the level, with what I knew at the time and what 2d objects I could use in unity, I decided to make a train level for my Megaman sprite. Each part of the level would be dedicated to a specific challenge on a specific train car. I originally made up the first 3 and then lost some work due to my computer shutting down on its own. So on my way home I drew up some sketches above for the designs I still wanted to make.
The first train car was basically a blue box with wheels and a crystal inside for the collectable. The next train car I had made was the Sapphire train car which had an evil eye in the center and a bent tunnel going thought the middle. These platforming puzzles would not be hard for the player but still fun to jump and walk around.

Bronze Freight car

Crystalized Crawler Crane and Prince's Parlour Palace
A video of the player traveling across two different trains cars.
The video above showcases a playthrough of my level in the later stages, it only includes the first two trains cars but gives the viewer and understanding of what the rest of the level will be like.
Most of this video shows the first train car: The Megabus and the second train car: The Bronze freight car. In my mind when creating the bronze freight car, I wanted to incorporate some electric beams across the couplings of the train car. Originally the player would have jumped across these beams and jumped down the two grey and orange pillars in the middle.
Instead I made one of the "electric" beams whit no 2d box collider, so you could pass through to the underground section. The player would then bypass the orange spheres which were not solid and make you way either to the left side or the right.
The left side takes you to the underlayer of the Megabus and to the crystal object in the cab. The right side takes the player to the next platform puzzle.
The second video finally showcases the whole level layout. I sadly could not figure out how to make the camera space bigger without zooming out so far. (Similar problem with the previous video.) I would like to fix this as I think exploring this level is really fun especially if you could see your character better.
As talked about below, one funny bug I did have was a infinite jumping technique, in which the player could repeatedly spam the spacebar to make Megaman defy gravity.
In the final part of the level at the Crystalized Crane Crawler car, I could not give the platforms a 2d box collider as it said it already had one. Yet in playing the level, the sprite would fall through these specific platforms.
So my only idea at this point was to use the infinite jump technique to simulate "jumping/swinging" from one crane to another.
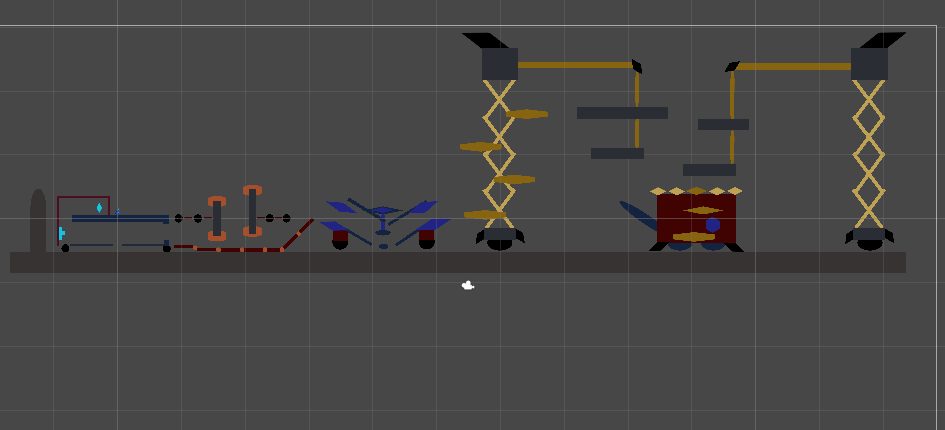
Full level map layout of my 2d Megaman spite train level.
Video showcasing sliding and infinite jump sequences that will be fixed later on.
This video showcases a funny bug I had with my Megaman sprite. This was later fixed but in my mind if this feature was to stay I would have created ideas like flappy bird where the character could infinitely jump upwards at your control. I later used this jumping bug to climb the ending platforms as I had underestimated the height of the platforms the player could jump to.
The video also shows a weird sliding feature where my 2d sprite would walk into a running animation and would stay in a static position. (Sliding) My classmates also found out that by spamming the spacebar, the 2D sprite could fall off and not die. Instead you could let the character fall off and spam the spacebar which would slowly rise the sprite from beneath the platform and back onto it.