This post covers my advancement in coding, testing different game prototypes and their mechanics. I shall also be showing off how creative I can be with these lessons and skills learnt. This week I was mainly learning how to use more layered code with objects that would allow them to move on their own using basic keyboard controls.
I was at first directed to a file that contained a pre-existing platform with the prototype material placed upon it. It also included some enemies, cubes, a player and a target object. These simple items would then be in my control to customize and code into a small mini-game.​​​​​​​
At first I was given a simple template on unity to download and fiddle with at my own curiosity. I then stretched some of the walls and changed the colours of the skybox to make the scene more dramatic. My first task was to use the Nav Mesh to ensure the player object could path-find the environment around them. I had to go to settings, then Navigation which allowed me to see a definition of the AI Agents in the menu. I could also change the height, name and how fast it could move. These AI agents would be the enemies in the this prototype and follow the player as they moved. I later had to place a target onto the player which had the code to allow this.

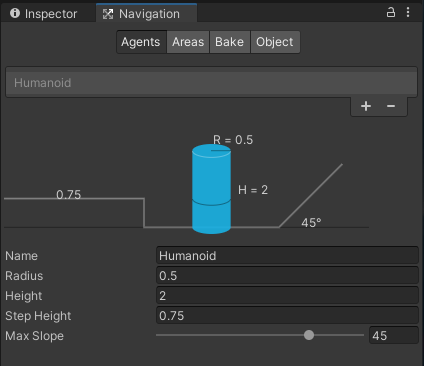
Navigation menu that shows the definition, name, size and radius of Ai agents.

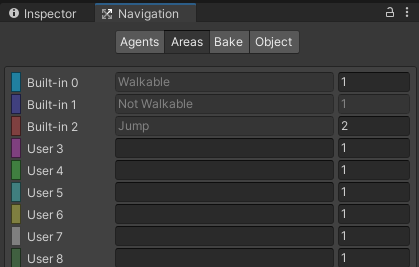
Options if u want to add abilities to AI agents

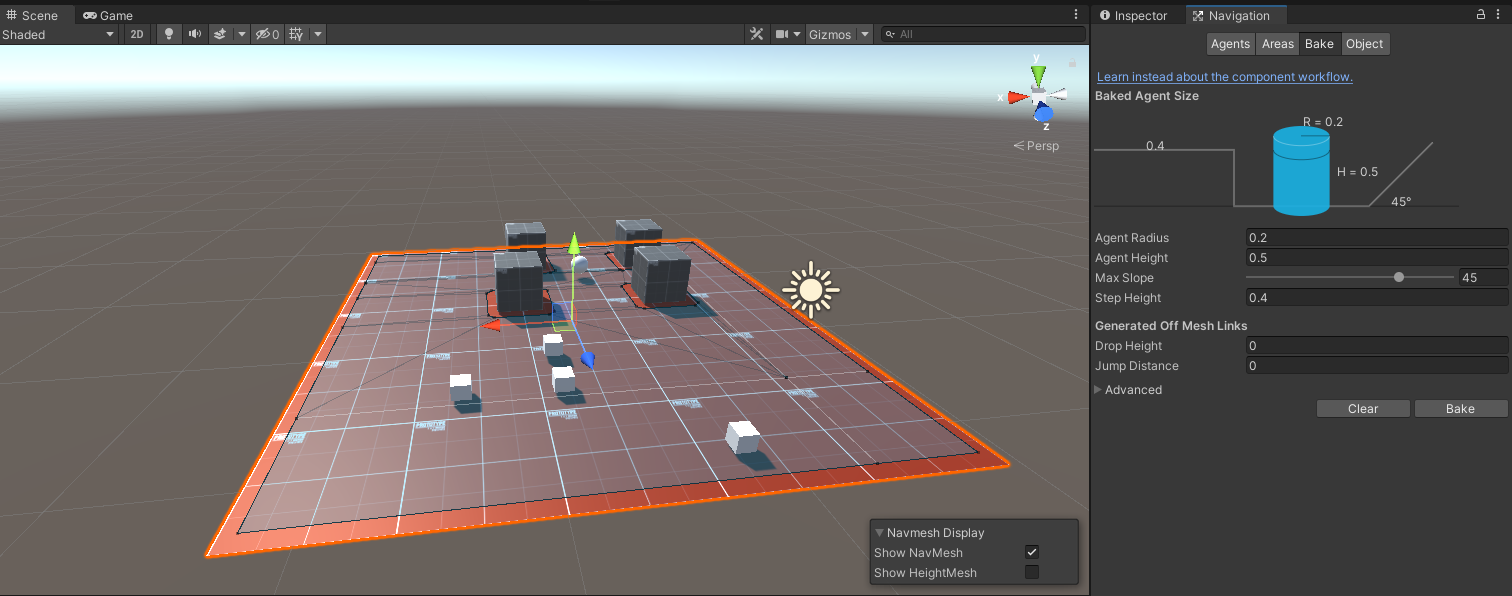
Baking AI agent object, creates Nav mesh is created in scene.

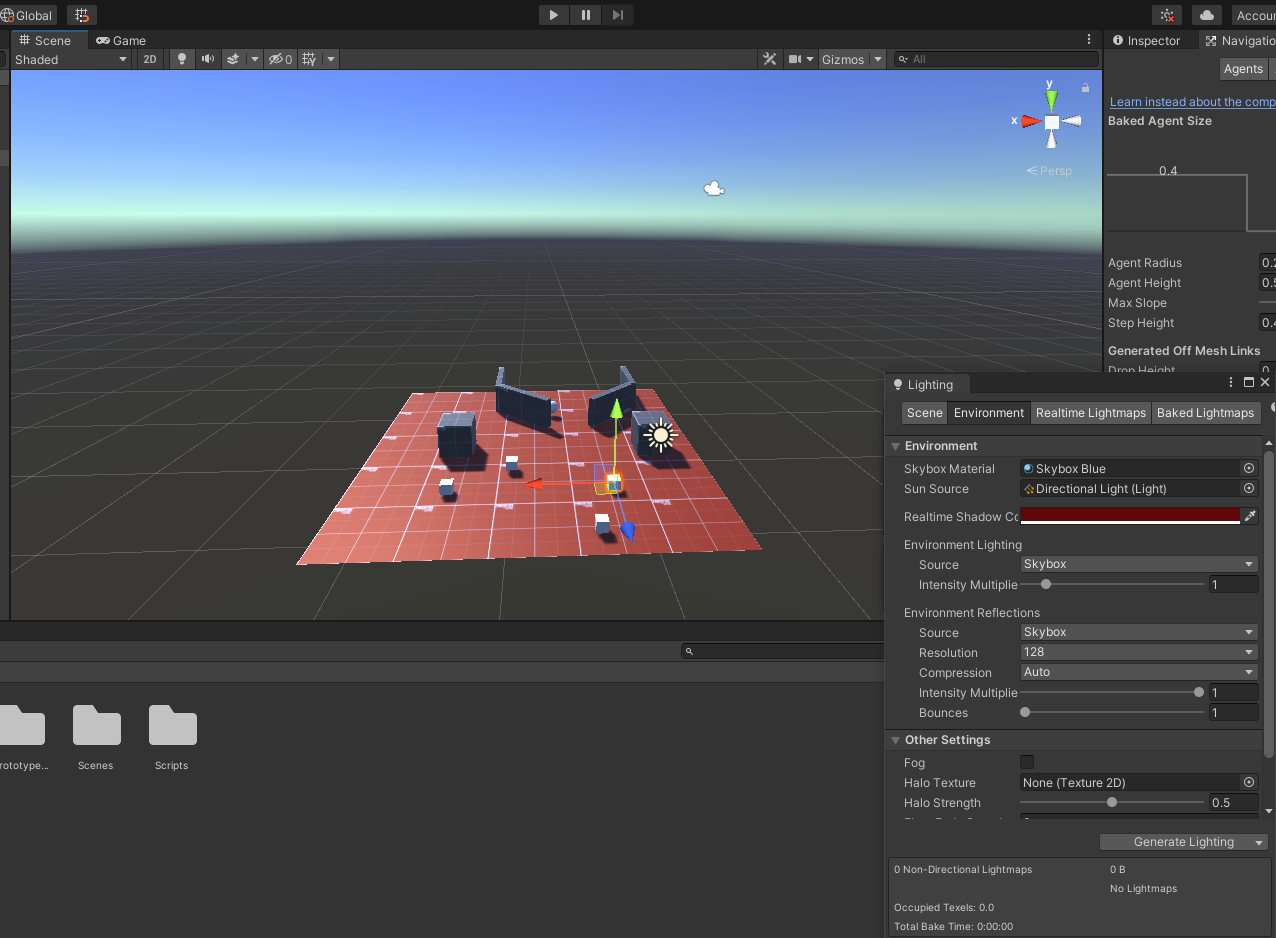
Changing lighting and environment

When I was finished adding my own touches to the AI agents, we had to go to the Baking section, this option would allow the AI agent to become a solid and functional object in my game. As that was done a Nav mesh was created which basically as you can see above created a purple layer on top of the red floor. This purple layer is the area that anything in the Nav mesh can move in. As you see later on the temple that I make needed to be baked again so the player could move better around the structure. On the right you can see that I also changed the lighting to a darkish midday and made my first area in the level called the sanctuary.
                                                     Then I started the code to make this all possible.

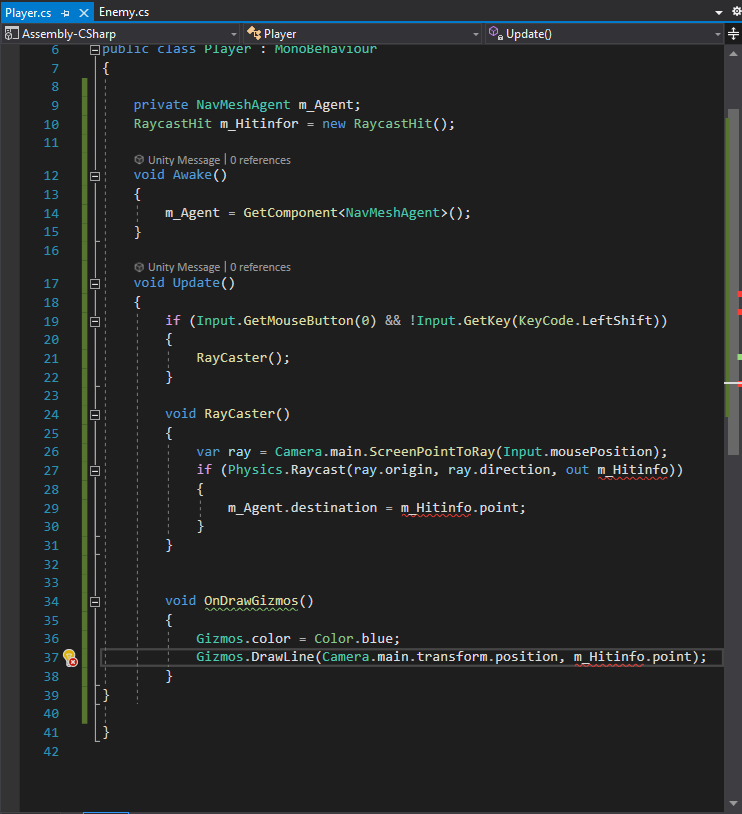
Making code for the player control scheme.

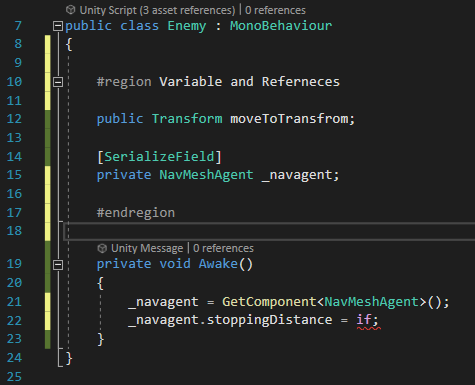
Here I used regions to collapse the code for a cleaner workspace.

This video is showcasing my earliest version of my point and click minigame prototype.

When I was making my prototype level, I intended to make a simple environment from basic objects, stretched and coloured. I would then be able to copy this design over and over again as it could be used for other projects. The walls and boss area later on make what I had reminiscent of the first unity model I made; the pinball minigame. Some of the walls are slanted in a way so the player can almost outrun the enemy AI agents. The colours of the AI agents being red are there to show danger and fear, where as the colours of the "Sanctuary" starting area being blue is in some colour theory representing hope, calmness and safety.
As a prototype none of what I just said would be final but it gives an insight into what the player might feel when testing this prototype mini-game. It could also represent opposing sides too like any Battle Royale game.

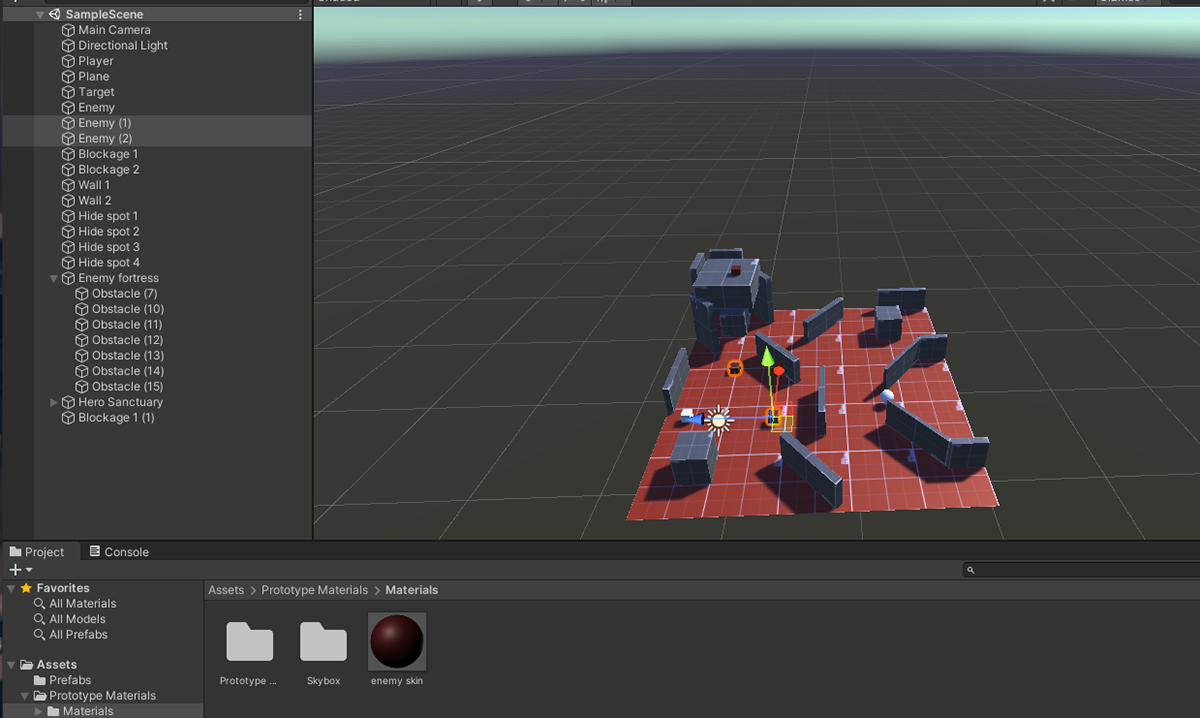
This picture shows my updated level layout & my Hierarchy which now has groups and properly named objects.

Player, AI agents and level environment objects are now coloured in. 

This video is the updated version of my point & click minigame prototype and shows off a more developed design for the environment. I have also coloured the characters and objects too. 

The video above is quite like the first but shows off a more advanced, more thought out design for a level. As soon as I made those first stretched out walls, I knew I wanted to make my mini level look like an arcade game. My parents who saw my work afterwards at home thought it looked like a laser tag arena and I took that view to make the level be inspired by that quote. I since the first video have added more distinct colours to the battlefield and made the player a lighter blue. The enemies are now dark red and the boss is a dark purple. 
The boss in question upon his high throne sadly cannot surprise the player at this moment, my classmate harry at the time told me it was because the enemy could not path find the floor underneath it. It could be fixed easily but at that moment our lesson had ended and other class members wanted to take our seats. The boss still responds to the player by moving left or right when you go underneath it. 
Underneath here are pictures I found online of two distinct laser tag areas, one being a basic model with a maze like design. While the other is an actual arena with multi coloured areas, towers and floors. These are my inspirations for my prototype mini-level and I will continue to look upon their basic design for future ideas.

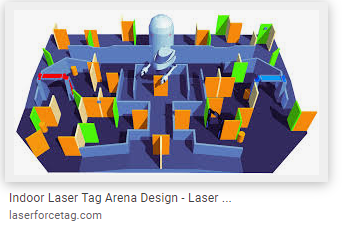
Example of inside basic laser tag arena

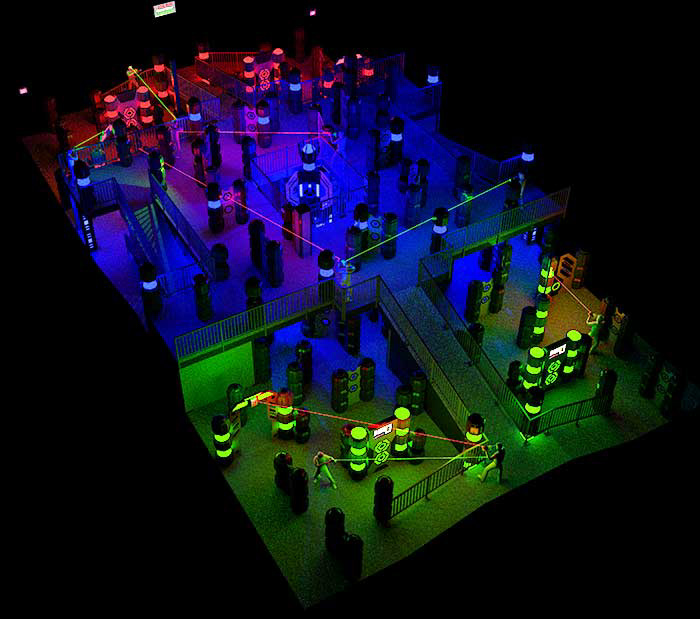
Red, blue and green themed laser tag arena

Going underneath the boss is a new hiding feature I added into the mini level, if you were being chased by the AI enemies, then you could take a sneaky pathway behind and around the temple at the back. Its a tight squeeze and the AI enemies can follow you but it will save you time when playing.

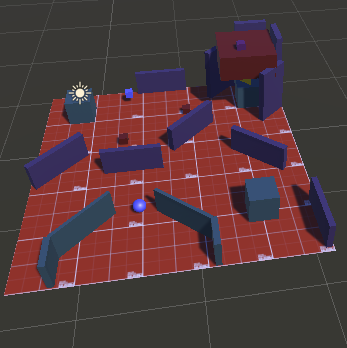
An In depth view of my level, from here you can see the colours I used as well as my hierarchy.

Back to Top